Welcome to the latest chapter of getting Home Assistant working on a Raspberry Pi using Docker. Last time, I’d managed to get it working in Docker, but only over a regular HTTP connection and without HomeKit. The good news is that I’ve solved both of these problems.
Using SWAG to enable HTTPS
Firstly, I recommend reading this paragraph whilst listening to ‘Swagger Jagger’ by Cher Lloyd.
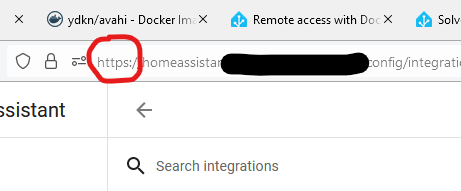
I’ve tried lots of different ways to get Home Assistant working over SSL/TLS. There’s a good reason why this is one of the key selling points of Home Assistant Cloud, as it can be difficult. Thankfully, there’s a Docker image called SWAG (Secure Web Application Gateway) that handles much of the legwork. Once you’ve installed SWAG, follow this guide, and you should find that you can access your Home Assistant setup at https://homeassistant.[yourusername].duckdns.org/ . No need to specify a port, or accept any certificate warnings.
Inside SWAG, there’s a DNS client, which will automatically renew the SSL certificates every 90 days for you, using ZeroSSL or Let’s Encrypt. There’s also nginx, which is used to set up a reverse proxy, and support for dynamic DNS services like DuckDNS.
SWAG has sample configurations for lots of different services, including calibre-web, so I have SSL access to my calibre-web image too. My only issues with it so far were last week when DuckDNS went down on Sunday morning. Most services, like Home Assistant, need to be mounted as subdomains (as above), but others (like calibre-web) can be mounted as subfolders, e.g. https://[yourusername].duckdns.org/calibre-web. This reduces the number of subdomains that you need SSL certificates for; ZeroSSL only offers 3 subdomains for a free account so it’s worth considering subfolders if you want to add more services.
If you have your own domain, then you can also add a CNAME to it to point it at your DuckDNS account, should you wish to use that rather than a [something].duckdns.org address.
Getting Apple HomeKit working
Carrying on the musical theme, here’s ‘Carry Me Home’ by Gloworm, a 90s dance classic which has only recently become available on digital platforms again.
After getting my swagger jagger on and getting HTTPS working, the final issue I’ve been having with Home Assistant is the HomeKit bridge. Adding Home Assistant devices to Apple’s Home app is something that normally works out of the box if you install Home Assistant OS, but takes more work if you use Docker.
The instructions which helped me where these on the Home Assistant forums. You’re going to need to install another Docker image containing avahi; there are several but this one worked for me. It’s bang up to date, unlike the most common Docker image which is, um, 8 years out of date and also only works on x86 machines. Which isn’t much help for my arm64-based Raspberry Pi 4.
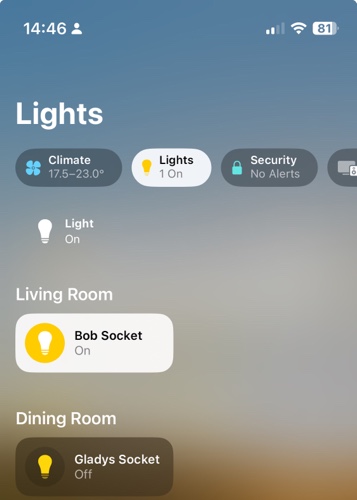
Once you’ve installed avahi, added the relevant lines to configuration.yaml in Home Assistant and restarted it, HomeKit should work. To get started, add the HomeKit integration to Home Assistant – you may want to specify which devices will show if you don’t want all of them. Then, use your iPhone or iPad to scan the QR code in your Home Assistant notification panel, and add the bridge. If all goes well, it should immediately tell you that it’s an unsigned device, but will then let you set up each device in turn.
If it just sits there for several minutes and then gives up, you’ll need to do some more digging. Don’t worry, this happened to me too. I suggest downloading the Discovery app, which shows all of the mDNS devices broadcasting on your network. If you can’t see ‘_hap._tcp’ in the list, then there’s a problem. In my case, this turned out to be because my Raspberry Pi wasn’t connected to the same wifi network. It’s plugged in to my ADSL router with a network cable, but we use Google Wifi which results in a ‘double NAT’ situation. Connecting the Raspberry Pi to both wired and wireless connections seemed to fix the issue.
Indeed, as a side effect Home Assistant managed to autodiscover some additional devices on my network, which was nice.
Home Assistant Core in Docker? Done it, mate
All in all, I’ve successfully managed to get Home Assistant to where I want it to be – self-updating in Docker, secure remote access, and a HomeKit bridge so that I can ask Siri to manage my devices. I’m looking forward to being able to turn my heating on whilst driving, for example.
It’s been a challenge, requiring a lot of skimming through the Home Assistant forums and various StackExchange discussions. Ideally, I would have a spare computer to run Home Assistant OS, which would have taken some of the leg work out of this, but I’m happy with the setup. Finding SWAG and getting it to work was a moment of joy, after all the setbacks I’d had before.