How to migrate a Parallels virtual machine to VirtualBox

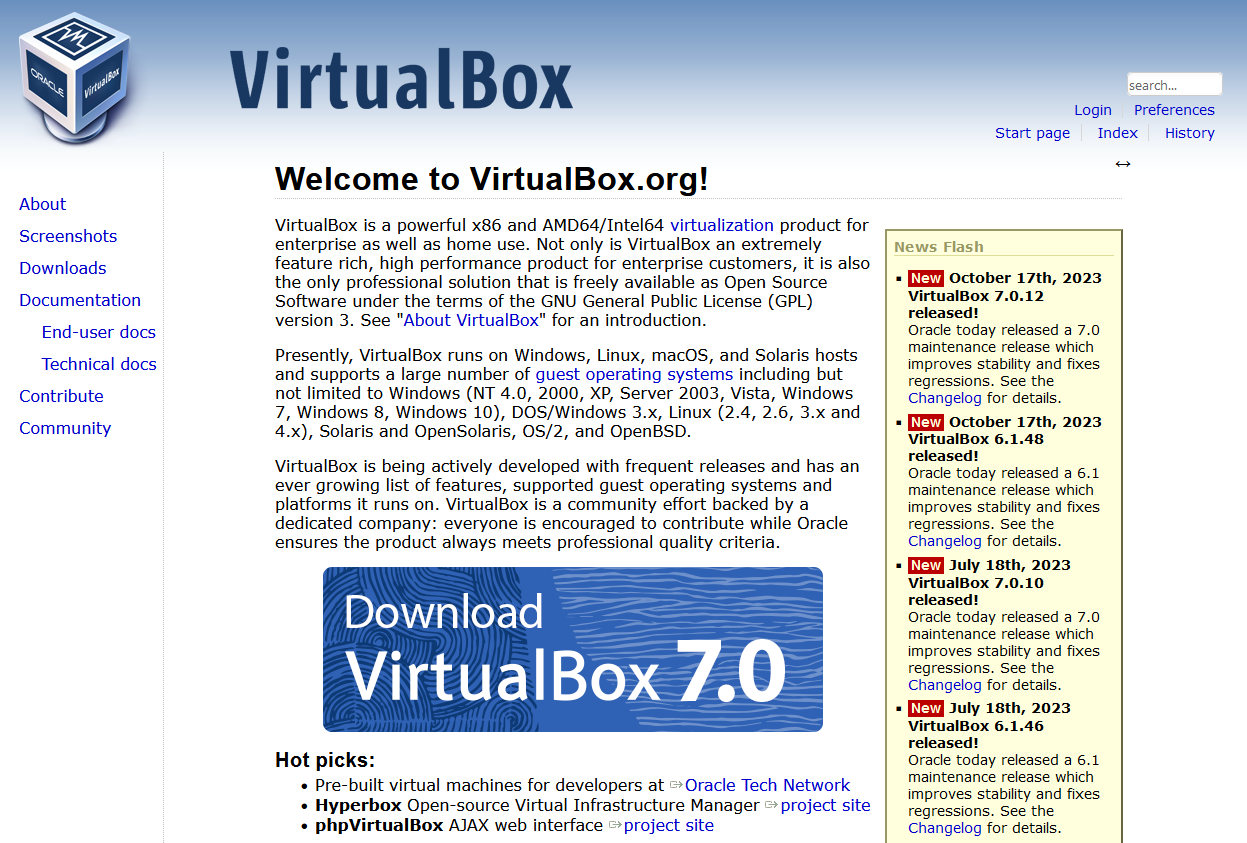
A screenshot of the web site for VirtualBox

Despite Parallels and VirtualBox both being programs which run virtual machines on Mac OS X, they both use different file formats for storing the virtual machines on disk. Though I believe Parallels will open a VirtualBox disk, VirtualBox cannot automatically import Parallels disks. But it’s not impossible…

If the guest operating system, i.e. the system that is running inside Parallels, is Windows 2000/XP/Vista, then it is possible to use a free tool from VMWare to do the conversion. Here’s a step-by-step:

1. Back up your virtual machine

Seriously. We’ll need to modify it a bit before it’s converted, so you’ll want a backup copy just in case things go wrong, or if you may use Parallels again in future.

2. Uninstall Parallels Tools

This is the modifying bit. Load your Windows virtual machine in Parallels, and uninstall Parallels Tools (the helper program that adds drivers and clipboard sharing, and other stuff). This is important as otherwise your virtual machine won’t boot in VirtualBox – and I know this from experience. You also can’t uninstall Parallels Tools unless you are running Parallels at the time.

3. Close all programs

Close as many running programs in your virtual machine as possible. We’re about to take a snapshot image of it while it is running, so any unsaved data may be lost when you boot the image in VirtualBox. That includes programs with icons in your notification area, such as virus scanners, instant messaging programs etc.

4. Install VMWare Converter

Once Parallels Tools has been uninstalled (you may need to reboot the virtual machine for this), we can begin the conversion process using a tool ironically made by VMWare. Go to the download page for the VMWare Converter in whatever web browser you use in your virtual machine (it’s a Windows program) Download it, and then install it.

Run the Converter tool, and click ‘Convert Machine’ – this should pop up a wizard which walks you through the process of setting up a new virtual machine image. You want to tell it to use a ‘Physical Computer’, and then on the next screen choose ‘This Local Machine’. Select the hard disk of the virtual machine and leave ‘Ignore page file and hibernation file’ ticked as this will just bloat the new virtual disk with unnecessary rubbish.

For the type of virtual machine, select ‘Other virtual machine’, and on the next screen, give it a name (e.g. ‘Windows Vista’). Next, you will also need to save it somewhere, and this should not be the existing hard disk of the virtual machine. You can either use your Mac’s main hard disk, mapped to drive ‘Z:’ under Parallels, a network drive or an external drive if you have it forwarded through to the virtual machine. You should be able to use the top option for the type (i.e. ‘Workstation 6.x’) but if it doesn’t work try another option. Keep ‘Allow disk to expand’ checked on the next screen. Click through until you’re ready to complete, and start the conversion.

5. Go and grab a cup of coffee

Or go out shopping. Or read a few chapters of War and Peace. Either way, the machine will take a significant amount of time to convert – mine took around 45 minutes and was only around 15 GB. Bigger disks may well take longer. It helps if you don’t have lots of other programs running on your Mac at the same time as then more of your CPU juice can be used for the conversion.

6. Shut down the machine in Parallels

Now that you’ve exported the machine, shut down Windows and close Parallels. This is mostly so that you can stay within the terms of the license agreement for Windows which won’t allow multiple instances.

7. Import the disk into VirtualBox

Open VirtualBox, choose ‘File’ and then ‘Virtual Disk Manager’. Add the disk file that you created, and click OK. Then click ‘New’ to create a new virtual machine, and select the correct operating system from the list. Try to ensure that you give the virtual machine the same settings (such as RAM size) as you did in Parallels. When asked for a hard disk, click the ‘Existing’ button and choose the disk file that you created from the list. Then click Finish.

8. Boot up in VirtualBox

Hopefully all will have gone to plan, and you will be able to boot into Windows as before. All of your files and programs should be there waiting for you.

If, however, you encounter a blue screen mentioning ‘prlfs.sys’ like I did, boot the machine but press F8 during the boot to enter Safe Mode with Command Prompt. Type in cd c:\windows\system32\drivers and then rename prlfs.sys prlfs.sys.old and then reboot – that should get you up and running.

For the inquisitive, prlfs.sys is part of Parallels Tools and this should have been removed as part of step 2, however muggins here forgot to this when he tried it himself and therefore encountered this error.

9. Install VirtualBox Guest Additions

Guest Additions are to VirtualBox what Parallels Tools are to Parallels – in other words, they make Windows sit better in the virtual machine and improve integration with the host operating system. On the main VirtualBox menu, select Devices and then ‘Install Guest Additions’ and follow the on-screen instructions. Though this is optional, it will improve the experience of using Windows in VirtualBox.

Hopefully now you’ll be up and running in VirtualBox. Feel free to post comments below and I’ll try to do what I can to answer them but I’m not the world’s greatest expert in this. I also don’t know how to do this in other versions of Windows or other operating systems.

Create a Safely Remove Hardware shortcut

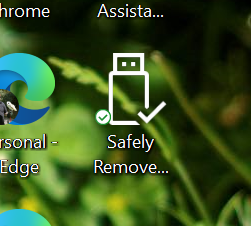
A screenshot of a Safely Remove Hardware shortcut on Windows desktop.

Here’s a tip I gleamed from today’s Windows Secrets newsletter. You may well be familiar with the ‘Safely Remove Hardware’ icon which appears in your notification area (or ‘system tray’ if you must) when you plug in a removable hard drive or camera (or whatever). You may also notice that the icon sometimes isn’t there – and this is a problem which my parents’ computer randomly suffers from – which means it’s difficult to safely disconnect removable devices. The answer: a desktop shortcut.

Right-click on the desktop, select ‘New’ and then ‘Shortcut’. For the item location, copy and paste the following:

RunDll32.exe shell32.dll,Control_RunDLL HotPlug.dll

Then click ‘Next’. Call the shortcut ‘Safely Remove Hardware’, and you should be done. If you want to make it look snazzier, right-click the icon, choose ‘Properties’ and then the ‘Shortcut’ tab, click on ‘Change Icon’ and in the ‘Look for icons’ box type:

%windir%\system32\HotPlug.dll

The first icon in this file matches the ‘Safely Remove Hardware’ icon so you’ll be able to recognise it more easily.

Now, if the normal notification icon doesn’t appear, all you need do is double-click your new desktop icon to safely remove any disks before unplugging them.

Update (November 2023): This was written back in April 2007, but it still seems to work in Windows 10.

Screenshots on a PocketPC

Since it took me a while to find out how to do this myself, I’m going to use this opportunity to tell you how to take screenshots on a PocketPC or Windows Mobile device – in my case, Windows Mobile 2003.

First of all, you need to know that, as far as I can tell, your device does not have a screenshot capability built in. It’s not like a Windows machine where you can hit Print Screen or a Mac where you can hit Cmd+Shift+3 – you will have to install some software first. I’m sure there’s some fancy-pants shareware jobby that will do the job painlessly but in this instance we’re going to use Pocket SnapIt (link no longer available), which is available for both normal Windows Mobile/PocketPC devices and Windows Smartphone handsets. There’s also a Windows version for your PC. It’s free and open source.

Choose the relevant package – for my Dell Axim x50v, I chose the PocketPC package – and download it to your device. This may mean downloading it to the Mobile Device folder in My Computer and then using ActiveSync to send it across. Then, click on the cabinet file on your device to have it install. If you’re using Windows Mobile 2003 (and probably 5.0 also) you’ll probably get a warning saying that the application was designed for an older operating system – you can ignore this. Now, go to Programs and run the newly-added Pocket SnapIt icon.

You’ll now need to define a hotkey to trigger the taking of screenshots. I chose the ‘/’ character – to set this, click on Menu and select Options. Then click Menu again, expand Options and choose Capture Options. Now click Menu a third time and click Select Capture Button. Click OK and then select a key on the keyboard. Click OK to go back to the main screen, and then click Start.

Now, open up the program you want to take a screenshot of and press the trigger key – you should hear a noise when you do. You should then find a bitmap file in your My Documents folder call Snap001.bmp – this is your screenshot.

You can see my effort further up the page – this was a shot from Skype for PocketPC. As you can see, the capturing mostly works but it chokes on the font smoothing, so you may want to consider turning this off first. You’ll also need to change the image format to something other than bitmap if you want to post your screenshot on the internet (since bitmaps are not compressed) – PNG is probably the best format to go for. The image I posted is less than 13KB.

Apple Lossless Encoder

One new iTunes feature that slipped by me was the new ‘Apple Lossless Encoder’. Unlike music formats like MP3, AAC and Ogg Vorbis, lossless encoding results in no loss of quality – the music file sounds exactly like the original. The downside to this is that files compressed using lossless compression are typically quite a bit larger than their lossy counterparts.

With the largest iPod topping 40GB it’s hardly surprising that Apple have adopted this – I’m sure the majority of people will never fill that much (even I have only 6-7GB) so the extra space can be set aside for higher quality files. What is surprising is that Apple chose to adopt their own format, and not one of the (many) other lossless encoding formats.

If you thought there was a format war amongst lossy encoders then you’ll be knocked back by how many lossless ones are out there. There’s at least 14, although not all of them are as good as each other. Thankfully, lossless formats are easier to compare since output quality isn’t a factor, but a good format will have quick encoding, a small output file size, many features, and would preferably be open source too.

The most popular is FLAC (Free Lossless Audio Codec), which is now being steered by the Xiphophorus Foundation who are also steering the Ogg Vorbis format. It’s arguably not the best format out there but it’s good enough and it’s entirely open source. It’s well represented on almost all platforms and is even in some hardware players. Monkey’s Audio is a little faster but isn’t so well supported, being restricted to Windows and a command line encoder in Linux. Although it is open source, development has been a little slow of late, and it lacks some features compared to FLAC. Shorten is another popular format.

Apple Lossless Encoder (or ALE for short – nice acronym), is, sadly, based on none of these. It’s a new format which is closed source and currently only works in iTunes (Mac and Windows) and through QuickTime, although a dBpowerAMP codec is apparently in the works. It is quite well featured, offering streaming and seeking support (which a surprising number of other formats lack), and is obviously supported on the iPod with the addition of the latest firmware update, so on paper it has a similar number of features to FLAC. It is, however, slower at encoding and decoding, and files are typically a megabyte or so larger, according to this comparison provided by the FLAC project, however this HydrogenAudio topic suggests it is faster. I’m guessing Apple may have optimised it for the PowerPC processor, in which case compile times on Mac OS X would be better than in Windows.

It’s just a pity that Apple took the decision to re-invent the wheel when good alternatives already exist, although this Macworld column reckons this is because Apple may want to add DRM to it in future so that punters can buy higher quality files from the iTunes Music Store. AAC was an open(-ish) format and look how quickly that was cracked. On the other hand, I doubt the record labels would be interested in giving away their songs on the internet at full quality, based on their previous boneheaded decisions.

There may also be reasons, such as patents or problems with embedding FLAC in the iPod firmware, but seeing as other hardware manufacturers have managed it this seems strange.

In any case, it’s an interesting development. Any support for lossless audio in iTunes is a good thing, I just wish that Apple had gone with the herd rather than go on a tangent and then confuse people. What I would like to know is whether the WMA import function of iTunes allows you to convert them to ALE, since then you wouldn’t lose any quality – I couldn’t find anything that suggested this in my research for this article.